
argo-workflow介绍
Argo Workflows是一个开源的容器化云原生工作流项目,其主要通过Kubernetes CRD实现的。
特点如下:
- 工作流的每一步都是一个容器
- 将多步骤工作流建模为一系列任务,或者使用有向无环图(DAG)描述任务之间的依赖关系
- 可以在短时间内轻松运行用于机器学习或数据处理的计算密集型作业
- 在Kubernetes上运行CI/CD Pipeline,无需复杂的软件配置
安装
命令
要安装 Argo Workflows,请导航至 Release 页面并找到您希望使用的版本(最好是最新的大版本)。
以下是安装命令的示例,请确保替换 ARGO_WORKFLOWS_VERSIO 变量以安装正确的版本号:
kubectl create namespace argo
kubectl apply -n argo -f https://github.com/argoproj/argo-workflows/releases/download/v<<ARGO_WORKFLOWS_VERSION>>/install.yaml
安装好后我们可以使用 kubectl 命令查看 argo 命名空间下的服务,我们可以看到主要是2个服务,argo-server 用来接收前端请求,workflow-controller 用来执行 crd 控制器逻辑。

补丁 argo-server 认证
argo-server(以及 UI)默认为客户端身份验证,这需要客户端提供其 Kubernetes 承载令牌才能进行身份验证。有关详细信息,请参阅 Argo 服务器身份验证模式文档。我们将身份验证模式切换为 server ,以便我们现在可以绕过 UI 登录:
kubectl patch deployment \
  argo-server \
  --namespace argo \
  --type='json' \
  -p='[{"op": "replace", "path": "/spec/template/spec/containers/0/args", "value": [
  "server",
  "--auth-mode=server"
]}]'
ui界面端口转发
将ui端口转发到本地
kubectl -n argo port-forward deployment/argo-server 2746:2746 & open https://localhost:2746
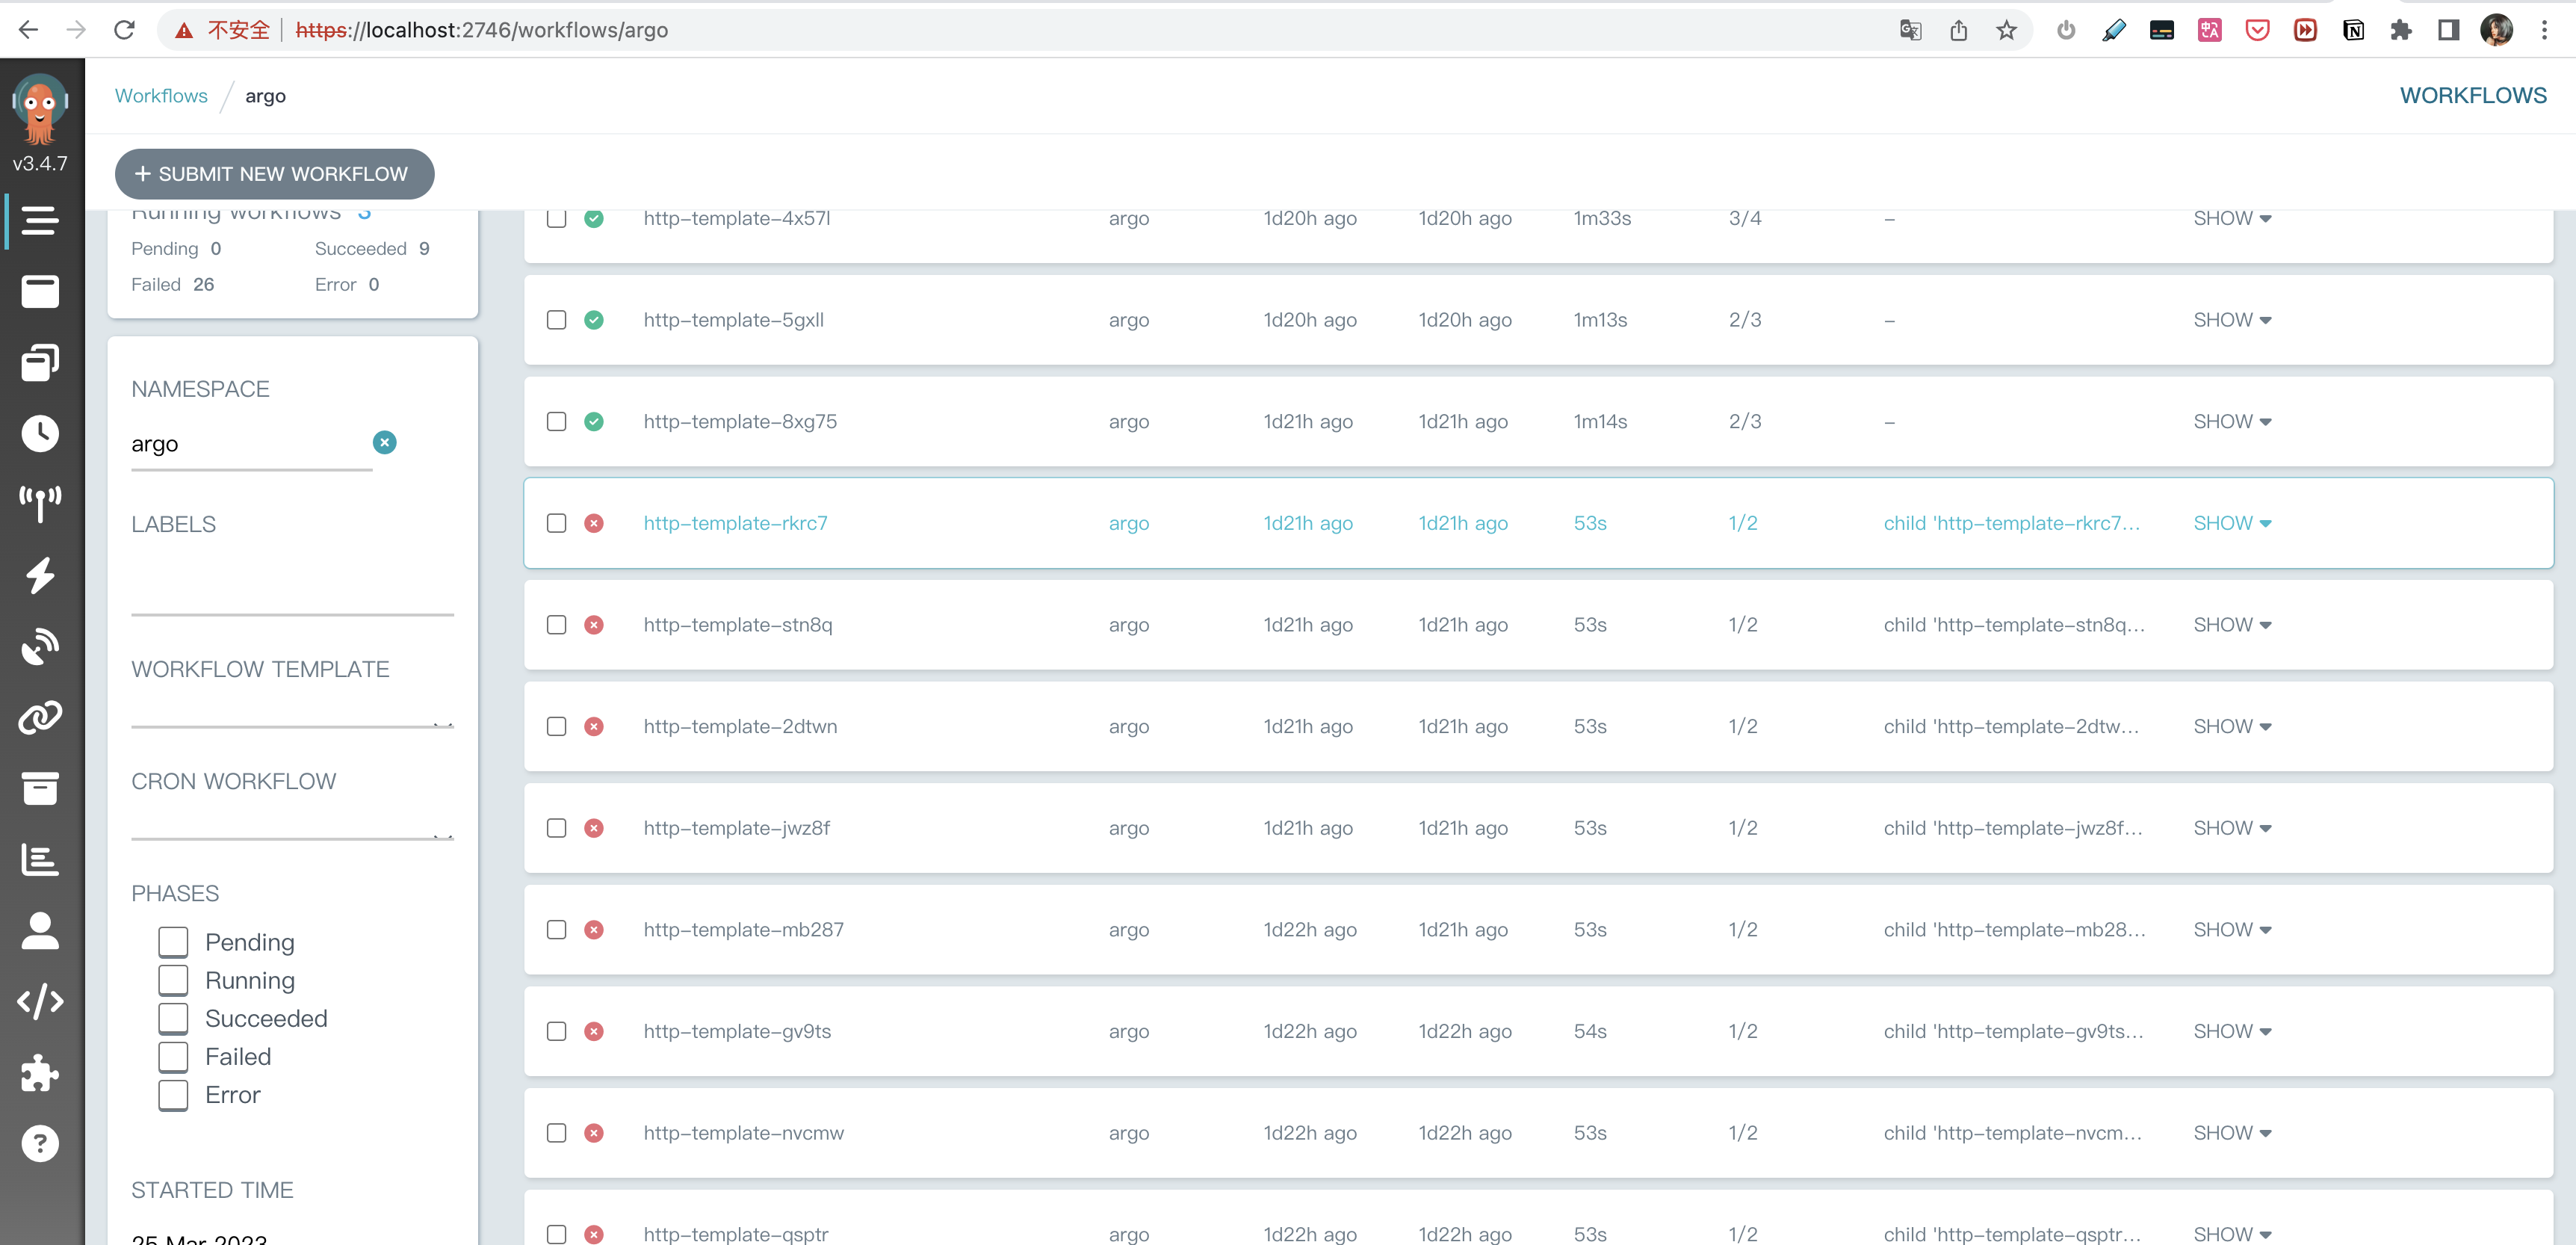
我们可以看到argo-workflow的界面啦 ,默认会显示 argo 命名空间下的工作流任务列表。
提交一个最简单的工作流
提交工作流
让我们从创建一个非常简单的工作流模板开始,使用来自 Docker Hub 的 docker/whalesay 容器镜像来回应“hello world”
您可以使用简单的 docker 命令直接从 shell 运行它:
$ docker run docker/whalesay cowsay "hello world"
 _____________
< hello world >
 -------------
    \
     \
      \
                    ##        .
              ## ## ##       ==
           ## ## ## ##      ===
       /""""""""""""""""___/ ===
  ~~~ {~~ ~~~~ ~~~ ~~~~ ~~ ~ /  ===- ~~~
       \______ o          __/
        \    \        __/
          \____\______/


Hello from Docker!
This message shows that your installation appears to be working correctly.
我们尝试让argo系统帮助我们运行这个容器,点击argo界面 +SUBMIT NEW WORKFLOW 按钮,将下面的yaml文件,提交到argo系统。
apiVersion: argoproj.io/v1alpha1
kind: Workflow                  # 自定义类型
metadata:
  generateName: hello-world-
spec:
  entrypoint: whalesay          # 入口
  templates:
    - name: whalesay              # 模版名字
      container:
        image: docker/whalesay
        command: [ cowsay ]
        args: [ "hello world" ]
        resources: # limit the resources
          limits:
            memory: 32Mi
            cpu: 100m
查看工作流
我们可以看到界面上多了个绿色的任务,点击右下角的Logs按钮,我们能查看容器中的日志,打印出了我们要的鲸鱼。


多步骤工作流
如果我们想执行多个工作流,如何做呢?试试提交下下面的yaml文件吧!
apiVersion: argoproj.io/v1alpha1
kind: Workflow
metadata:
  generateName: steps-
spec:
  # 程序入口模版名字
  entrypoint: hello-hello-hello

  # 包含两个模版: hello-hello-hello and whalesay
  templates:
  - name: hello-hello-hello
    # 这个模版有好几个步骤,hello1 先执行
    steps:
    - - name: hello1            # hello1 先执行
        template: whalesay
        arguments:
          parameters:
          - name: message
            value: "hello1"
    - - name: hello2a           # 在hello1后执行
        template: whalesay
        arguments:
          parameters:
          - name: message
            value: "hello2a"
      - name: hello2b           # 与hello02a并发执行
        template: whalesay
        arguments:
          parameters:
          - name: message
            value: "hello2b"


  - name: whalesay
    inputs:
      parameters:
      - name: message
    container:
      image: docker/whalesay
      command: [cowsay]
      args: ["{{inputs.parameters.message}}"]
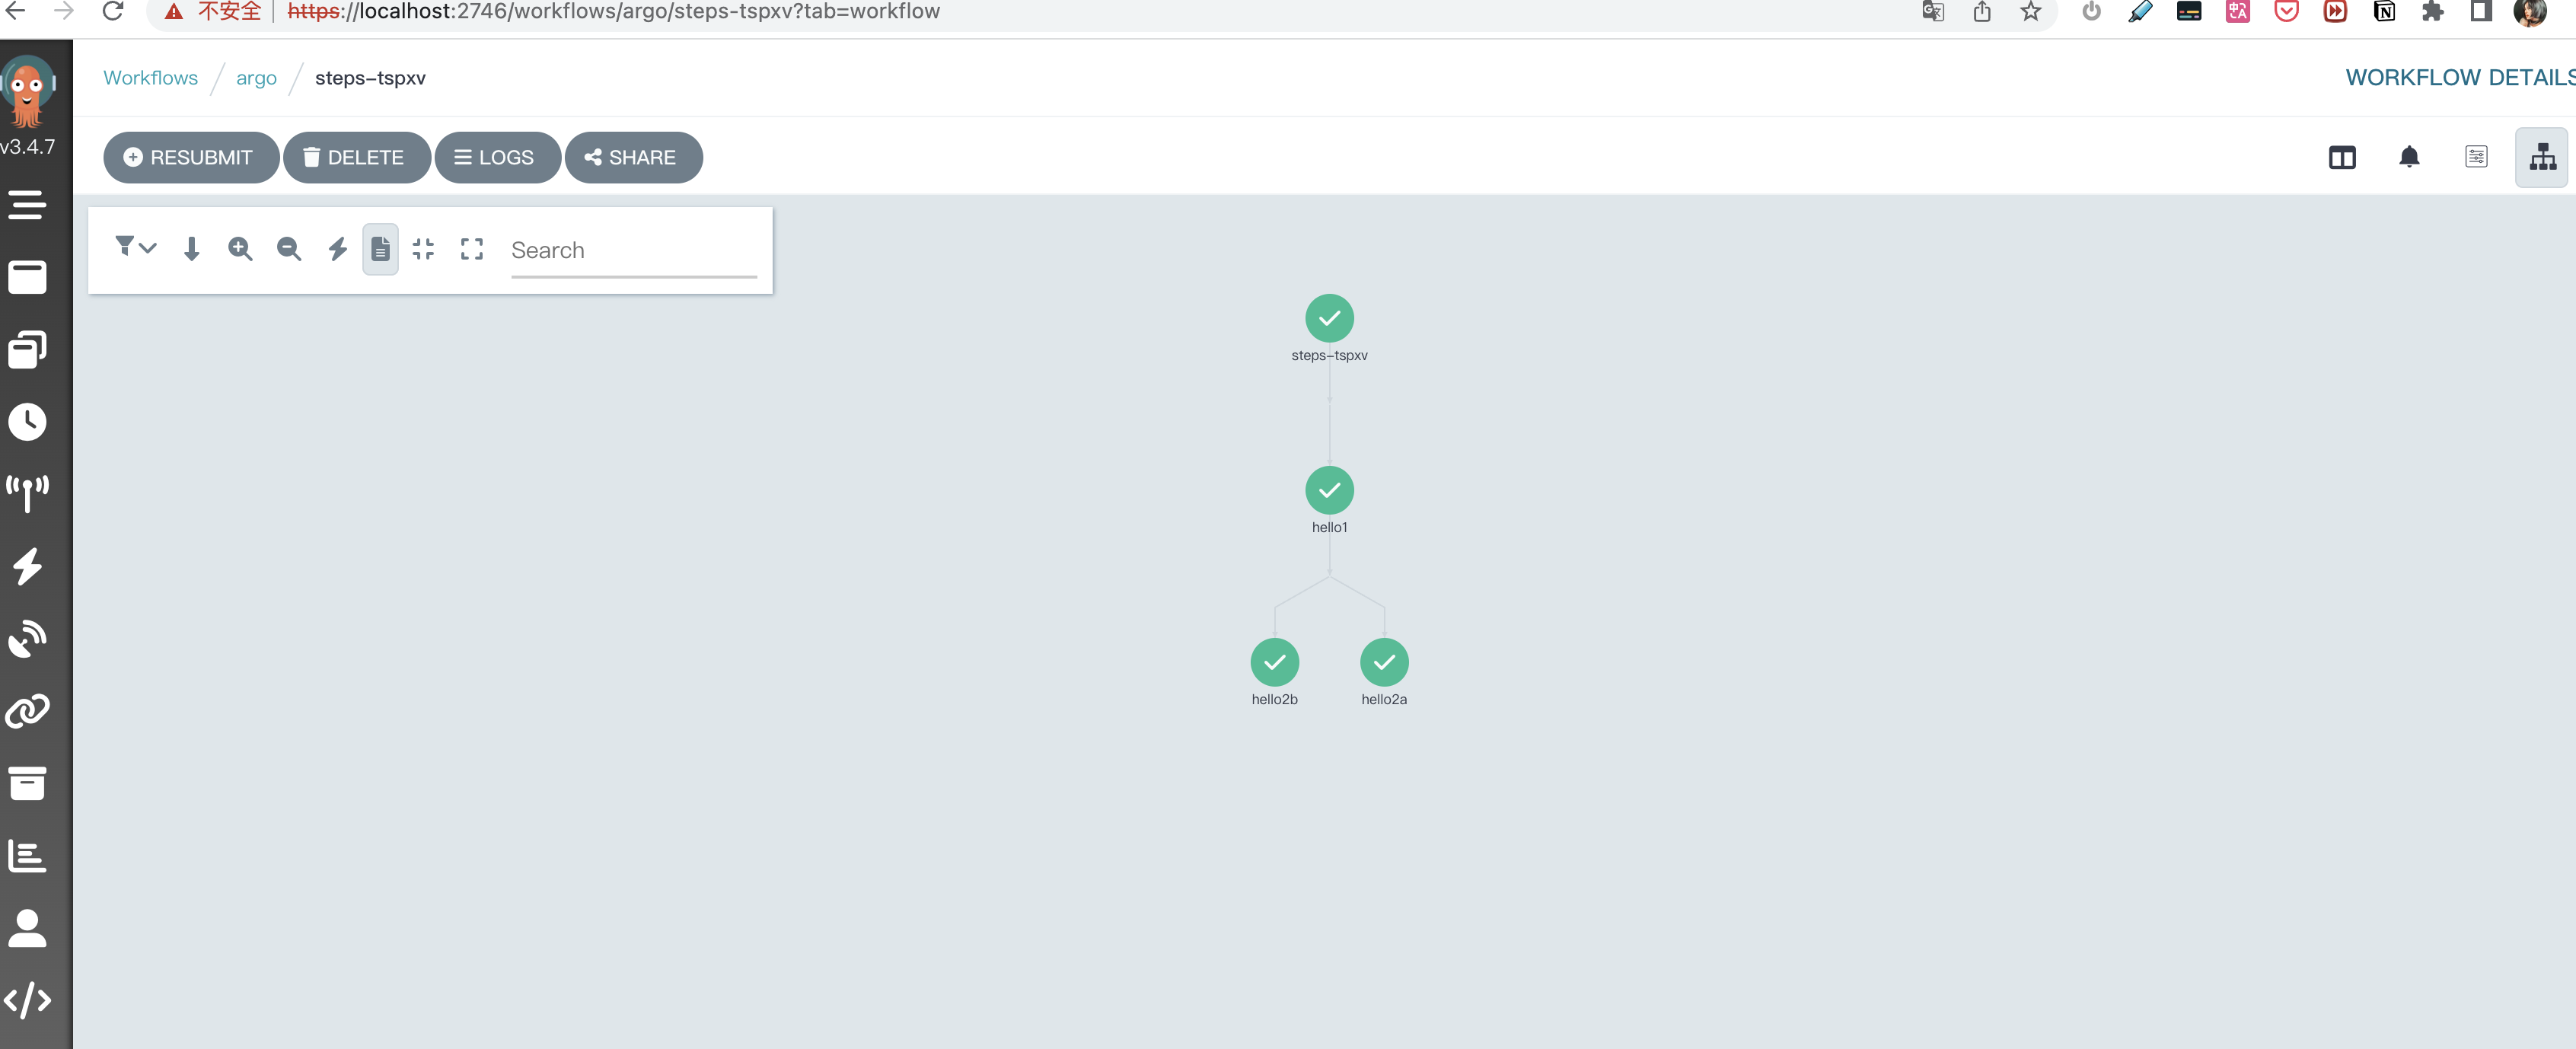
看图秒懂!我们创建了3个任务,hello2b 和 hello2a 在 hello1 任务之后并发执行。同时这三个任务接受的参数不同,打印的结果也不同哦!
4大模版
argo-workflow 系统重定义的模版有4种类别,如下:
Container
也许是最常见的模板类型,它会调度一个容器。模板的规范与 Kubernetes 容器规范相同,因此您可以像在 Kubernetes 中的其他任何地方一样在这里定义容器。
  - name: whalesay
    container:
      image: docker/whalesay
      command: [cowsay]
      args: ["hello world"]
Script
执行脚本,添加了 source: 字段,允许您就地定义脚本。该脚本将保存到一个文件中并为您执行。脚本的结果会自动导出到 变量 {{steps.<NAME>.outputs.result}} 中,你可以在下一阶段使用这个结果。
  - name: gen-random-int
    script:
      image: python:alpine3.6
      command: [python]
      source: |
        import random
        i = random.randint(1, 100)
        print(i)
Resource
直接对集群资源进行操作。它可用于获取、创建、应用、删除、替换或修补集群上的资源。此示例在集群上创建一个 ConfigMap 资源
  - name: k8s-owner-reference
    resource:
      action: create
      manifest: |
        apiVersion: v1
        kind: ConfigMap
        metadata:
          generateName: owned-eg-
        data:
          some: value
Suspend
暂停模板将暂停工作流的执行,持续一段时间或直到手动恢复。用户可以使用 cli、API 接口或 UI点击操作来恢复暂停的工作流,让其继续执行。
  - name: delay
    suspend:
      duration: "20s"
2大流程控制
Steps
steps 模板允许您在一系列 steps 中定义您的任务。模板的结构是“列表的列表”。外部列表将按顺序运行,内部列表将并行运行。如果要逐一运行内部列表,请使用同步功能。您可以设置各种选项来控制执行,例如 when: 子句以有条件地执行步骤。 在此示例中, step1 首先运行。完成后, step2a 和 step2b 将并行运行:
  - name: hello-hello-hello
    steps:
    - - name: step1
        template: prepare-data
    - - name: step2a
        template: run-data-first-half
      - name: step2b
        template: run-data-second-half
Dag
dag 模板允许您将任务定义为依赖关系图。在 DAG 中,您列出所有任务并设置在特定任务开始之前必须完成哪些其他任务。没有任何依赖关系的任务将立即运行。在此示例中, A 首先运行。一旦完成, B 和 C 将并行运行,一旦它们都完成, D 将运行:
  - name: diamond
    dag:
      tasks:
      - name: A
        template: echo
      - name: B
        dependencies: [A]
        template: echo
      - name: C
        dependencies: [A]
        template: echo
      - name: D
        dependencies: [B, C]
        template: echo
CI 示例
一般将代码构建成镜像,有两种方式 ,一种是dind,一种是使用本地构建工具,比如 kaniko,buildkit等工具。这里我们展示如何使用argo-workflow 来构建镜像。
# in a workflow. The resource template type accepts any k8s manifest
# (including CRDs) and can perform any `kubectl` action against it (e.g. create,
# apply, delete, patch).
apiVersion: argoproj.io/v1alpha1
kind: Workflow
metadata:
  generateName: k8s-jobs-
spec:
  serviceAccountName: default
  entrypoint: pi-tmpl
  templates:
  - name: pi-tmpl
    resource:                   # indicates that this is a resource template
      action: create            # can be any kubectl action (e.g. create, delete, apply, patch)
      # The successCondition and failureCondition are optional expressions.
      # If failureCondition is true, the step is considered failed.
      # If successCondition is true, the step is considered successful.
      # They use kubernetes label selection syntax and can be applied against any field
      # of the resource (not just labels). Multiple AND conditions can be represented by comma
      # delimited expressions.
      # For more details: https://kubernetes.io/docs/concepts/overview/working-with-objects/labels/
      successCondition: status.succeeded > 0
      failureCondition: status.failed > 3
      manifest: |               #put your kubernetes spec here
        apiVersion: v1
        kind: Pod
        metadata:
          generateName: kaniko-pod
        spec:
          containers:
            - name: kaniko
              image: gcr.io/kaniko-project/executor:debug
              args:
                - "--dockerfile=Dockerfile"
                - "--context=git://github.com/mouuii/golang-dockerfile.git#refs/heads/main"
                - "--destination=上传到镜像仓库地址"
              volumeMounts:
                - name: kaniko-secret
                  mountPath: "/kaniko/.docker"
              env:
                - name: GOOGLE_APPLICATION_CREDENTIALS
                  value: /secret/kaniko-secret.json
          restartPolicy: Never
          volumes:
            - name: kaniko-secret
              secret:
                secretName: dockersecret
                items:
                - key: .dockerconfigjson
                  path: config.json
我们使用argo-workflow简单创建一个镜像,传入 dockersecret 和代码仓库地址,执行后,会将我们的代码打包成镜像并上传到我们配置的镜像仓库地址,如果不熟悉,可以去百度下 kaniko。
个人感受
概念太多,使用姿势太多,很多东西看的出都是功能的堆叠,并没有一个很好的兼容,上手成本比较高。